
.shooting sneakers (for the grams)
(last updated in June, 2021)
(also check my work for JD SPORTS & THROWBACK)
I've been shooting products for years now, and being a sneakerhead, I thought, why not shoot my own sneakers? I have so many of them and access to such a wide array. I might not have the largest following or as many likes as other ‘Instagram Sneaker Photographers’, but having shot sneakers for years and now doing so professionally (by this I mean actually being paid to do it, not as an influencer) I think I’ve built up some credibility and rep in what I do.
I follow a good number of ‘Instagram Sneaker Photographers’, but I’ve also seen far too many people take bad or sub-par photos. Even the hottest pair of sneakers can’t save a poorly taken shot (same applies to having an expensive camera, sorry rich peeps). So in response, I thought I’d share some general tips from the knowledge and experience I’ve gained to help you take better sneaker photos.
1 - CAMERA SETTINGS
Generally, shooting at a lower aperture with a great focal length results in more bokeh and better background separation, which is almost always aesthetically pleasing. I typically shoot between f/2.8 and 4 and at a focal length between 50mm and 200mm (depending on the lens I’ve got attached). Try to avoid shooting too wide and too close, as this can distort the shoe. That may work well for on-foot shots, but not so much for off-foot in my opinion.
Make sure your white balance is set correctly, otherwise your colors will be off. If you shoot RAW, this can be corrected in post. But if you're shooting JPEG, your white balance is baked in and won't be as easy to recover.
If you’re shooting on your phone and it allows you to change settings, take advantage of that. If not, at the very least make sure to focus on the shoe and expose so that the shoe is well-lit and clearly presented.

2 - BACKGROUND / LOCATION
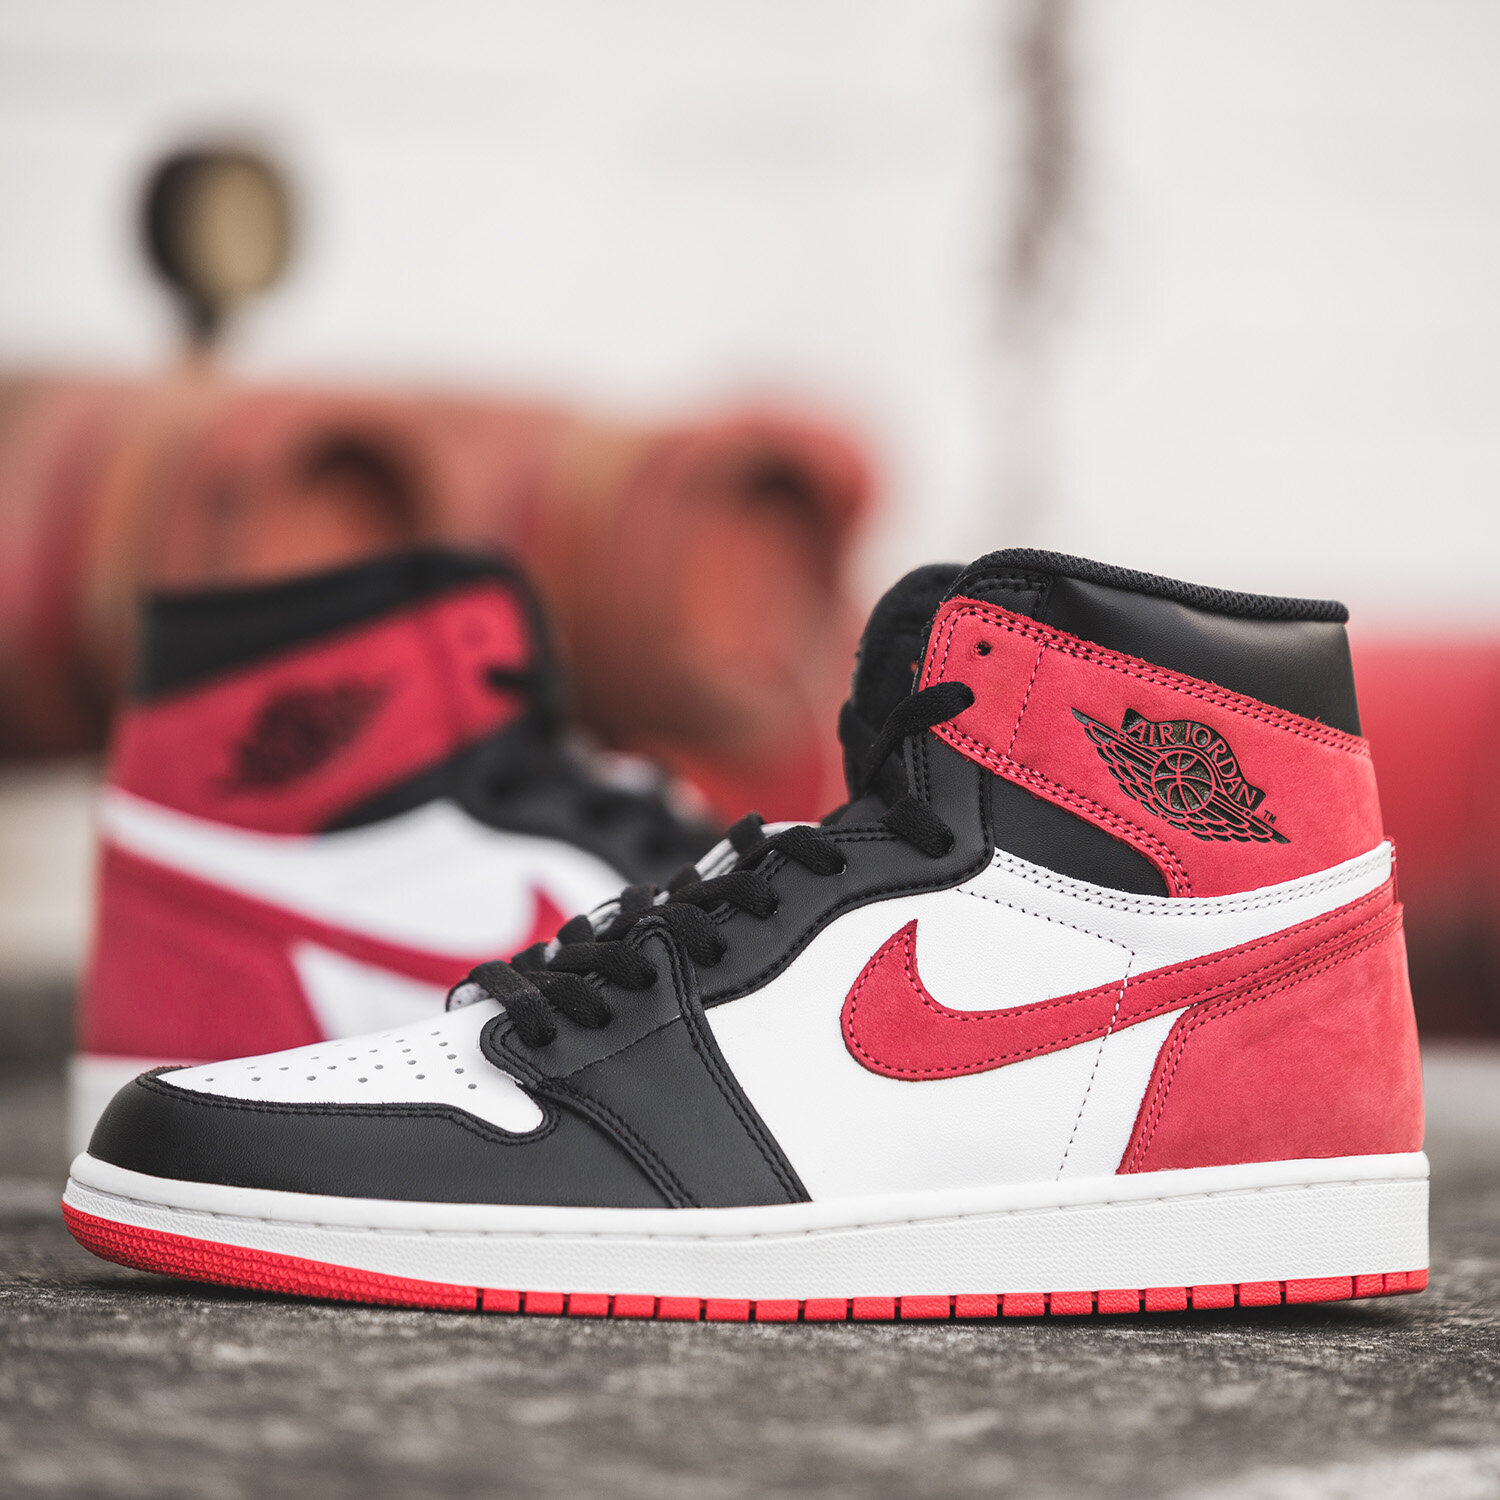
Try shooting in locations that complement the sneaker or enhance the visuals, whether through color, texture, shape, or setting. I tend to shoot with plain backgrounds that aren’t too busy but still have enough texture or visual interest so they don’t appear flat. I like to emphasize color, either by making it the predominant color or the only one. If you look at my shots, you’ll notice many of them have quite neutral backgrounds, which allows the shoes to pop and be the main focus. Sometimes I even match the background to a part of the shoe to create visual unity.
In terms of texture and shape, I usually look for lines or subtle points of interest, like cracks in the pavement, architectural elements, graffiti—just enough to add something visually but not so much that it distracts from the shoe.
If you're going for a more contextual setting, shoot the shoe where it would logically be used. A basketball shoe on a court, a sneaker on the street, a shoe rack or shelf, etc.
City and urban environments work especially well for sneaker shots, so explore your local area. You never know what you might find. You might also find that shooting at home works great too. After all, shoes belong there.

3 - SHOOTING ANGLE & COMPOSITION
This is something that improves with practice. The more you shoot, the stronger your creative eye will become. Composition is a crucial part of any photography discipline and shouldn’t be overlooked, even when shooting sneakers.
Think about your framing, what’s inside it, and the final image. For Instagram, will the image be square, landscape, or portrait? Are there any visual distractions like a shrub, a cigarette butt, a dirt mark, or a car in the background? Simply shifting your angle by a few inches can drastically improve the photo. If it still doesn’t look right, move the frame or change locations entirely.
Avoid shooting from too high of an angle unless you’re doing a top-down or flat lay. I’ve noticed that high angles (maybe between 25 and 70 degrees—just spitballing here) often create less flattering, more amateur-looking shots. Try shooting parallel to the shoe or slightly above or below, depending on the mood you're aiming for.
4 - LIGHTING
If you don’t fully understand lighting yet, a good rule of thumb is to shoot on overcast days or in shaded areas, whether under a shelter or indoors. This gives you soft, even lighting across your subject. Shooting in direct sunlight, especially midday, often creates harsh, unflattering shadows.
However, this all depends on the mood you're trying to create.
You can also use your surroundings to manipulate the light. For example, shooting indoors near a large window can give you soft light with nice falloff into the shadows. If the window faces the sun during sunrise or sunset, you can get some amazing moody lighting, lines, and shapes.
The image below is a great example of this. Shot near a large window with some of the morning sun peaking through some shades to create the lines of light and also draw the eyes into the hang tag.

5 - PRESENTATION
This one's a bit trickier. For off-foot shots, there’s no excuse for the shoe to look bad. Even if it’s been worn, it should still be clean and well-presented. Fix the laces, wipe off dirt, clean scuffs.
For on-foot shots, this doesn’t have to be followed as strictly, but it’s still good practice.
Pro tip for off-foot shots: Fill the shoe and prop up the tongue using shoe trees, tissue paper, plastic bags, or even socks. This helps the shoe maintain its shape and structure, giving a much cleaner, more appealing look.

6 - POST PRODUCTION
This part is highly subjective, but here are a few baseline practices to follow:
White balance should ideally be set while shooting. If not, make sure whites actually look white in post. Images often look off when colors are inaccurate, especially if whites lean blue or green. Even if you're aiming for a mood, don’t go too far off from reality.
Color accuracy is crucial in product photography. For personal or social use, small shifts might be okay. But for marketing or advertising? Absolutely not.
Retouch distractions. Clean up anything distracting like dust, gum, scratches, or background clutter using the clone tool or your preferred method. This can really elevate the image. That said, leaving some imperfections can add character, so don’t go overboard. You don’t want everything looking overly sterile if the setting calls for some grit.
Consider locally desaturating backgrounds or surfaces that should be neutral (white, gray, black). This helps eliminate any unwanted color casts, like yellow or blue, depending on how the shot was lit.

Of course with all kinds of photography, everything is subjective to the photographer and viewer, nor is what I say golden, however, I have found these to be great practices and will make a lot of sense when applied. Be creative, go out and shoot, see what works for you and find your style.
IG @jnywkz
Make sure to take a look at my work for JD SPORTS & THROWBACK.